You can export your sessions and their details as a spreadsheet. Reformat your spreadsheet for internal use to share with the production team.
- Go to the Reports tab.
- Under “Schedule” click “Sessions.”
You can use your session spreadsheet to add many sessions at once. The session spreadsheet contains a column for all session details, and it can be used to make bulk changes leading up to your event.
Here’s Adding Multiple Sessions at Once guide.
Export all your sessions into a spreadsheet with the attendance counts to see an overview of how many attendees have signed up for each session.
- Go to the Reports tab.
- Under “Schedule,” click “Attendance Counts.”
Column “N” will display how many seats you have assigned to that session. Column “O” is the number of “goers,” which are attendees who have added that session to their schedule. The “checkins” number in Column “P” is the number of attendees who were checked in if you are using the check-in app during your event.

You can find all the presentation files that have been attached to sessions in one place. Download all files in one ZIP or you can download them separately.
- Go to the Reports tab.
- Under “Schedule,” section click “Session Files.”
- Click “Download all” to export a ZIP with all files or click “Download” next to each file to export separately.

Export the full and short links for each session to share on social media. You can schedule social media posts to feature sessions leading up to your event. Include links in YouTube videos to reference specific session content.
- Go to the Reports tab.
- Under “Schedule,” click “Session Links.”
The export includes columns with the session name, short link, and long link:

Export your full list of attendees to add to your contact list or newsletter to stay in touch with them long after your event. You can also use the spreadsheet to import attendees into your event.
- Go to the Reports tab.
- Under the “Attendees” section, click “Attendees."
You can export a CSV file with the attendees listed and their sessions. The spreadsheet will contain a row for each session an attendee has signed up for.
- Go to the Reports tab.
- Under the “Attendees” section, click “Attendee Schedule.”
You can export a list of attendees who haven’t scheduled any sessions and use it to send them a reminder. This helps encourage participants to plan and arrive at your event prepared. The list also includes attendees who haven’t logged in to your Sched event yet.
- Go to the Reports tab.
- Under the “Attendees” section, click “Empty Schedules.”
Export a list of attendees who have never logged in to your Sched event. This helps you identify participants who may be missing your emails, so you can follow up with more personalized communication and improve your response rate.
- Go to the Reports tab.
- Under the “Attendees” section, click “Inactive Attendees.”
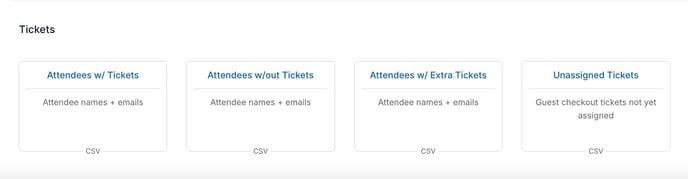
Attendee Ticket Report
Export attendee data based on ticket status, whether they have tickets, no tickets, additional tickets, or even unassigned tickets from guest checkout.
-
Go to the Reports tab.
-
Under the Tickets section, select the data type you’d like to export.